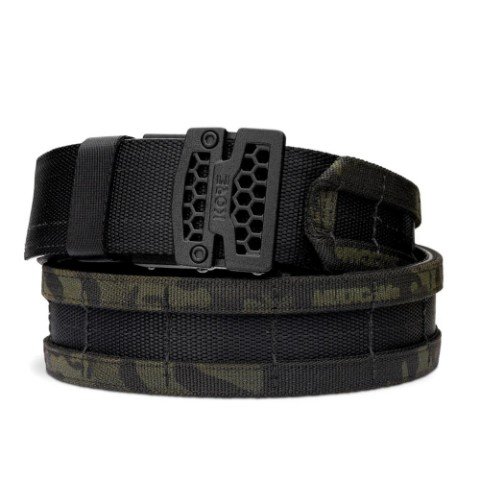
Belt
Belt
How to Cut a Kore Belt: A Comprehensive Guide for Perfect Fit
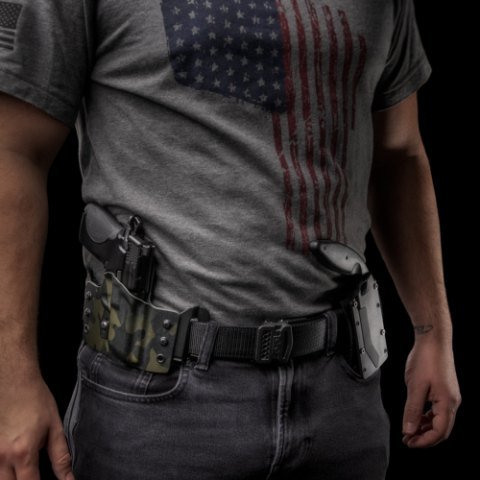
If you’ve recently added a Kore belt to your accessory collection, you already know why these innovative belts have become so popular. With their unique ratcheting buckle system and tough, long-lasting materials, Kore belts deliver unbeatable adjustability and all-day comfort. But there’s one common hurdle many new owners face: getting the length just right by cutting the belt to fit your waist perfectly. The good news? Cutting a Kore belt isn’t hard—you just need a little precision and the right approach to avoid ruining your new purchase. In this easy-to-follow guide, we’ll take you through every step, from understanding how Kore belts work to making the cut and finishing the edge like an expert.
Understanding Kore Belts: What Makes Them Different
Preparing for Success: Gather Your Tools
- A measuring tape or ruler
- A fine-tipped marker (or even a piece of chalk)
- A sharp utility knife or dedicated belt cutter
- A straightedge (a metal ruler works best)
- A cutting board to protect your table or countertop
- For finishing: medium and fine-grit sandpaper
- For leather belts: leather conditioner or edge paint
Step 1: Measure for the Perfect Length
- Put the belt on with the buckle attached, just like you would when wearing it out.
- Thread the belt through the buckle and adjust it until it feels comfortable—not too tight, not too loose.
- Stand naturally—no sucking in your stomach!
- When you’ve found the perfect fit, use your marker to mark where the end of the belt meets the buckle.
- Pro tip: add an extra 1-2 inches beyond this mark. This little buffer gives you room for future adjustments or changes in your waist size.
Step 2: Prepare the Belt for Cutting
- Place your straightedge along the line—this will be your guide to keep the cut even.
- If your belt has a fabric or webbing core, stick a piece of masking tape over the line first—it helps prevent fraying.
- For leather belts, the tape also stops the blade from slipping.
- Hold the straightedge firmly with one hand and your knife with the other, keeping your fingers well away from the blade’s path.
Step 3: Make the Cut
- For thick belts or those with reinforced material, make a few passes, cutting a little deeper each time.
- Resist the urge to saw back and forth—that’s how you get tearing and fraying.
- When you’re done, check the edge for rough spots or unevenness.
- If you see loose threads (especially on nylon or fabric belts), trim them carefully with scissors.
Step 4: Finish the Edge for Durability
For Leather Belts:
- Gently sand the cut edge with medium-grit sandpaper to smooth any roughness.
- Switch to fine-grit sandpaper for a polished finish.
- Apply a little leather conditioner or edge paint to seal the edge and keep moisture out.
For Nylon or Synthetic Belts:
- Carefully run a lighter flame quickly over the edge (don’t touch the flame to the belt!).
- The heat melts the fibers slightly, preventing fraying.
- Keep the flame a few inches away and move it back and forth quickly to avoid damage.
Step 5: Test and Adjust (If Needed)
- Thread the belt through the buckle and fasten it around your waist.
- The end should extend past the buckle by a couple of inches—not so much that it looks bulky, but enough to stay secure.
- If it’s still too long, you can always trim a bit more later. Remember: you can cut more off, but you can never add length back. It’s always safer to leave it a little long on your first try.
Maintaining Your Kore Belt After Cutting
- Clean it regularly following the manufacturer’s instructions, and steer clear of harsh chemicals that can weaken the material.
- Keep an eye on the notches and buckle area for signs of wear, and check that the cut edge stays smooth and secure.
- For leather belts, regular conditioning keeps the material soft and prevents cracking.
- When you’re not wearing it, hang your belt or roll it loosely—avoid folding it sharply, as creases can weaken the structure over time.
| Powered by WordPress | Theme by TheBootstrapThemes